

-HCL syntax used in Terraform
Terraform is an Infrastructure as Code (IaC) tool that allows you to define and provision infrastructure resources in a declarative manner. The configuration files in Terraform use a language called HashiCorp Configuration Language (HCL). In this response, I'll provide an overview of the HCL syntax used in Terraform.
Blocks and Arguments: HCL code is organized into blocks and arguments. Blocks define different configuration sections, while arguments define the properties within a block.
resource "aws_instance" "example" {
  ami           = "ami-0123456789abcdef0"
  instance_type = "t2.micro"
  tags = {
    Name        = "my-instance"
    Environment = "production"
  }
}
In this example, the
resourceblock is used to define an AWS EC2 instance resource.The block has a type of
aws_instanceand a name ofexample.Within the block, there are several arguments assigned using the
=symbol, such asami,instance_type, andtags.The
tagsargument is assigned a nested block using curly braces{}to define multiple key-value pairs.
Comments: You can add comments in your HCL code using the
#symbol. Anything after the#on a line is considered a comment.# This is a comment in HCLComments are used to provide explanations or annotate the code, but they are ignored by Terraform during execution.
Strings: String values are typically assigned using double quotes (
"").variable "region" { description = "AWS region" type = string default = "us-west-2" }In this example, the string value
"AWS region"is assigned to thedescriptionargument of thevariableblock.Integers and Floating-Point Numbers: Numeric values can be assigned as integers or floating-point numbers.
resource "aws_instance" "example" { ami = "ami-0123456789abcdef0" instance_count = 3 instance_type = "t2.micro" price_per_hour = 0.25 cpu_utilization = 80.5 }In this example, the
instance_countargument is assigned an integer value of3, whileprice_per_hourandcpu_utilizationare assigned floating-point numbers.Booleans: Boolean values can be assigned using
trueorfalse.resource "aws_instance" "example" { ami = "ami-0123456789abcdef0" instance_type = "t2.micro" monitoring = true }In this example, the
monitoringargument is assigned a boolean value oftrue.Lists: Lists can be used to represent collections of values. They are defined using square brackets
[].resource "aws_instance" "example" { ami = "ami-0123456789abcdef0" instance_type = "t2.micro" security_group_ids = ["sg-0123456789abcdef0", "sg-9876543210fedcba"] }In this example, the
security_group_idsargument is assigned a list of two strings representing security group IDs.Maps: Maps are used to represent key-value pairs. They are defined using curly braces
{}.variable "content_map" { type=map default={ "content1"="this is content1" "content2"="this is content2" } }
-Variable, Datatype Expressions in HCL
Variables: Variables allow you to parameterize your configurations and make them more flexible. You can declare variables using the variable block in your Terraform configuration files.
create a file called variable.tf :-
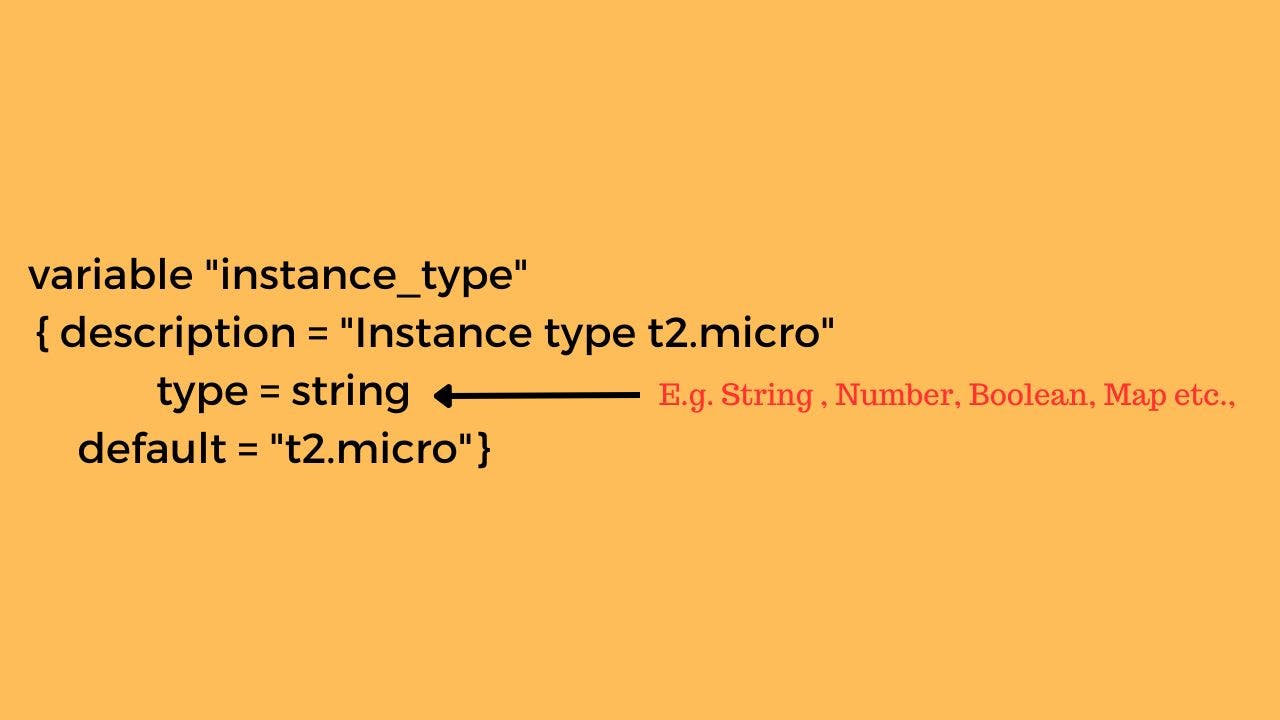
  variable "region" {
    description = "AWS region"
    type        = string
    default     = "us-west-2"
  }
In this example, a variable named
"region"is defined.The
descriptionargument provides a description for the variable.The
typeargument specifies the data type of the variable. In this case, it isstring.The
defaultargument sets a default value for the variable.
Data Types: HCL supports various data types that you can use in your Terraform configurations:
String: A sequence of characters, represented using double quotes.
Number: Numeric values, which can be integers or floating-point numbers.
Boolean: Represents true or false.
List: An ordered collection of values, enclosed in square brackets
[].Map: A collection of key-value pairs, enclosed in curly braces
{}.Object: A complex data structure that represents an object with properties.
Expressions: Expressions in HCL allow you to dynamically compute and manipulate values within your Terraform configurations. Expressions can include variables, functions, operators, and references to other resources or data sources.
resource "aws_instance" "example" {
  ami           = var.ami_id
  instance_type = "${var.instance_type}-small"
  key_name      = "key-${aws_region}"
}
In this example, the
amiargument is assigned the value of the variablevar.ami_id.The
instance_typeargument uses string interpolation${}to dynamically concatenate the value of the variablevar.instance_typewith the string-small.The
key_nameargument concatenates the string"key-"with the value of theaws_regionresource, which is a reference to another resource.
Expressions in HCL support various operators, including arithmetic, logical, comparison, and string manipulation operators. You can use parentheses () to group expressions and control the order of operations.
Additionally, HCL provides built-in functions that you can use in expressions to perform operations, transformations, and validations. These functions cover a wide range of functionalities, such as string manipulation, mathematical calculations, encoding, decoding, and more.
It's important to consult the Terraform documentation and the documentation of the specific provider you're working with to explore the available data types, variables, and functions specific to that provider.
-Writing Terraform Configurations
Install AWS CLI: Follow the steps mentioned earlier to install the AWS CLI on your machine. Make sure it is successfully installed and configured with your AWS credentials.
  # On Ubuntu or Debian
  sudo apt-get install awscli

  # On CentOS or RHEL
  sudo yum install awscli

  #configure
  aws configure
Create a directory for your Terraform project: Open a terminal or command prompt and create a directory for your Terraform project. For example:
  mkdir my-terraform-project
  cd my-terraform-project
Create the Terraform configuration file: Create a file named
main.tfin the project directory and add the following content:Save the file.
provider "aws" { region = "eu-central-1" access_key = "<INSERT_YOUR_ACCESS_KEY>" secret_key = "<INSERT_YOUR_SECRET_KEY>" } # Create VPC resource "aws_vpc" "main" { cidr_block = "172.16.0.0/16" } # Create public subnets1 resource "aws_subnet" "public1" { vpc_id = aws_vpc.main.id cidr_block = "172.16.0.0/24" map_public_ip_on_launch = true availability_zone = "eu-central-1a" } # Create public subnet2 resource "aws_subnet" "public2" { vpc_id = aws_vpc.main.id cidr_block = "172.16.1.0/24" map_public_ip_on_launch = true availability_zone = "eu-central-1b" }variable "region" { default = "eu-central-1" } variable "vpc_cidr" { default = "172.16.0.0/16" }Initialize the Terraform project: Run the following command to initialize the Terraform project:
terraform initThis command will download the required provider plugins specified in your configuration.
Validate the Terraform configuration: Run the following command to validate the syntax and configuration of your Terraform files:
terraform validateThis command checks for any errors or warnings in your configuration.
Review the execution plan: Run the following command to see what changes Terraform will make before actually creating resources:
terraform planReview the plan output to ensure it matches your expectations.
Apply the Terraform configuration: If the plan looks good, you can proceed with creating the resources. Run the following command:
terraform applyTerraform will prompt for confirmation. Type
yesand press Enter to proceed. Terraform will create the EC2 instance based on the specified configuration.Note: Make sure you have the necessary permissions and valid AWS credentials configured on your machine for Terraform to interact with AWS.
Verify the created resources: After the
terraform applycommand completes successfullyTo destroy the created resources and remove the VPC, you can run the following command:
terraform destroyThis will prompt confirmation. Type
yesand press Enter to proceed with destroying the resources.Thanks for reading!!!!