


What is Jenkins?
Jenkins is an open-source continuous integration-continuous delivery and deployment (CI/CD) automation software DevOps tool written in the Java programming language. It is used to implement CI/CD workflows, called pipelines.
Jenkins is a tool that is used for automation, and it is an open-source server that allows all the developers to build, test and deploy software. It works or runs on java as it is written in java. By using Jenkins we can make a continuous integration of projects(jobs) or end-to-endpoint automation.
Jenkins achieves Continuous Integration with the help of plugins. Plugins allow the integration of Various DevOps stages. If you want to integrate a particular tool, you need to install the plugins for that tool. For example Git, Maven 2 project, Amazon EC2, HTML publisher etc
Tasks:
1)What you understood in Jenkin, write a small article in your own words
Jenkins is a self-contained, open source automation server which can be used to automate all sorts of tasks related to building, testing, and delivering or deploying software.
Jenkins can be installed through native system packages, Docker, or even run standalone by any machine with a Java Runtime Environment (JRE) installed.
Note: By now Jenkins should be installed on your machine(as it was a part of previous tasks, if not follow Installation Guide)
2)Create a freestyle pipeline to print "Hello World!!
Creating a Jenkins freestyle project involves several steps:
Install jenkins on AWS EC2 Ubuntu instance.
For jenkins used port 8080, browse instance-public-IP/8080 it will open jenkins dashboard.
Log in to Jenkins and navigate to the main dashboard
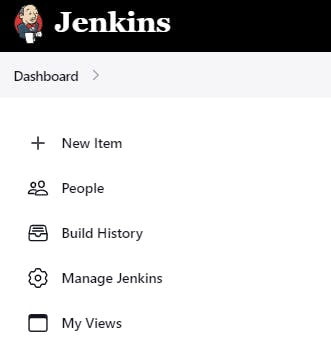
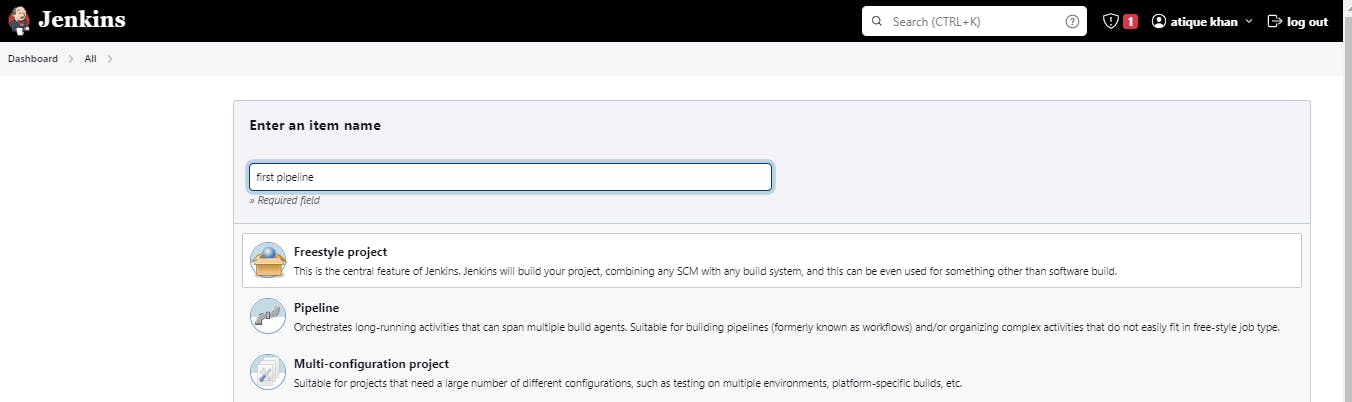
Click on the "New Item" button on the sidebar
Give your project a name, select "Freestyle project" as the job type and click on "OK" button
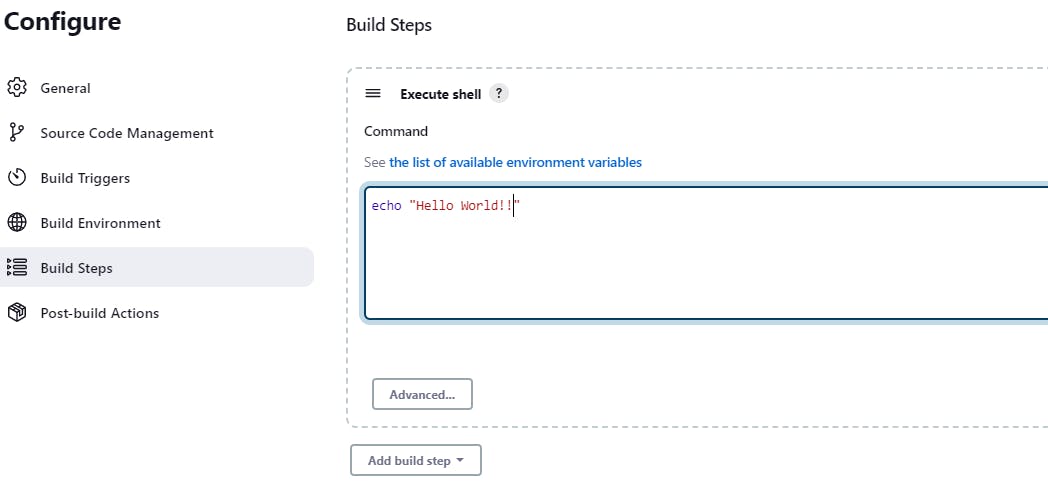
In the project configuration page, you can specify the source code management, build triggers, build environment, and build steps

In the build section we have an option ‘Execute Shell’ by which we can write some commands or code:

In the build step, you can specify the task you want to perform, such as executing shell commands, running scripts, or building with a specific tool
In the command field, enter the command to print "Hello World", such as echo "Hello World!!"
Once you've configured your project, click on the "Save" button to create the project.
You can now run the project by clicking on the "Build Now" button
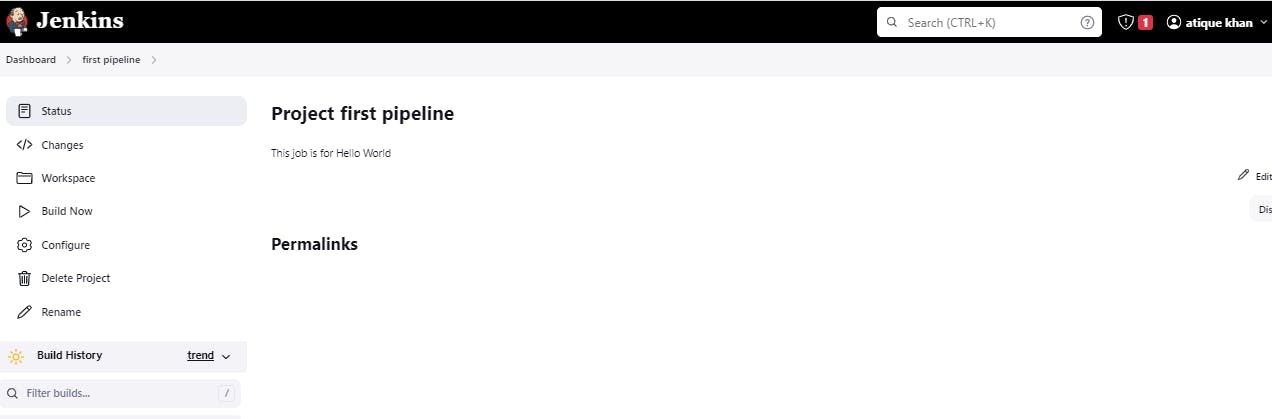
Check the console output for "Hello World" message.

Successfully created first build project.
Thank You for reading!! I hope you find this article helpful